Showing posts with label Makeup Tutorial. Show all posts

Saturday, July 4, 2015

Day to night ~ eyes


 Today I was really in the mood for a makeup tutorial so that's what I did! Now, yes, it's true. As you can most likely tell, it's been a little while since I got my brows done! Please ignore my untamed brows, I promise to get them waxed ASAP! I mean sometimes we get busy (or lazy) and who really cares in the end! I hope you enjoy this little day to night makeup transformation. It's a lot easier to add to your day makeup than to remove it and start over. Shimmery neutrals are my favorite so this look is right up my alley! I also didn't edit these photos or even crop most of them, I thought it would give it a more laid back feel. 


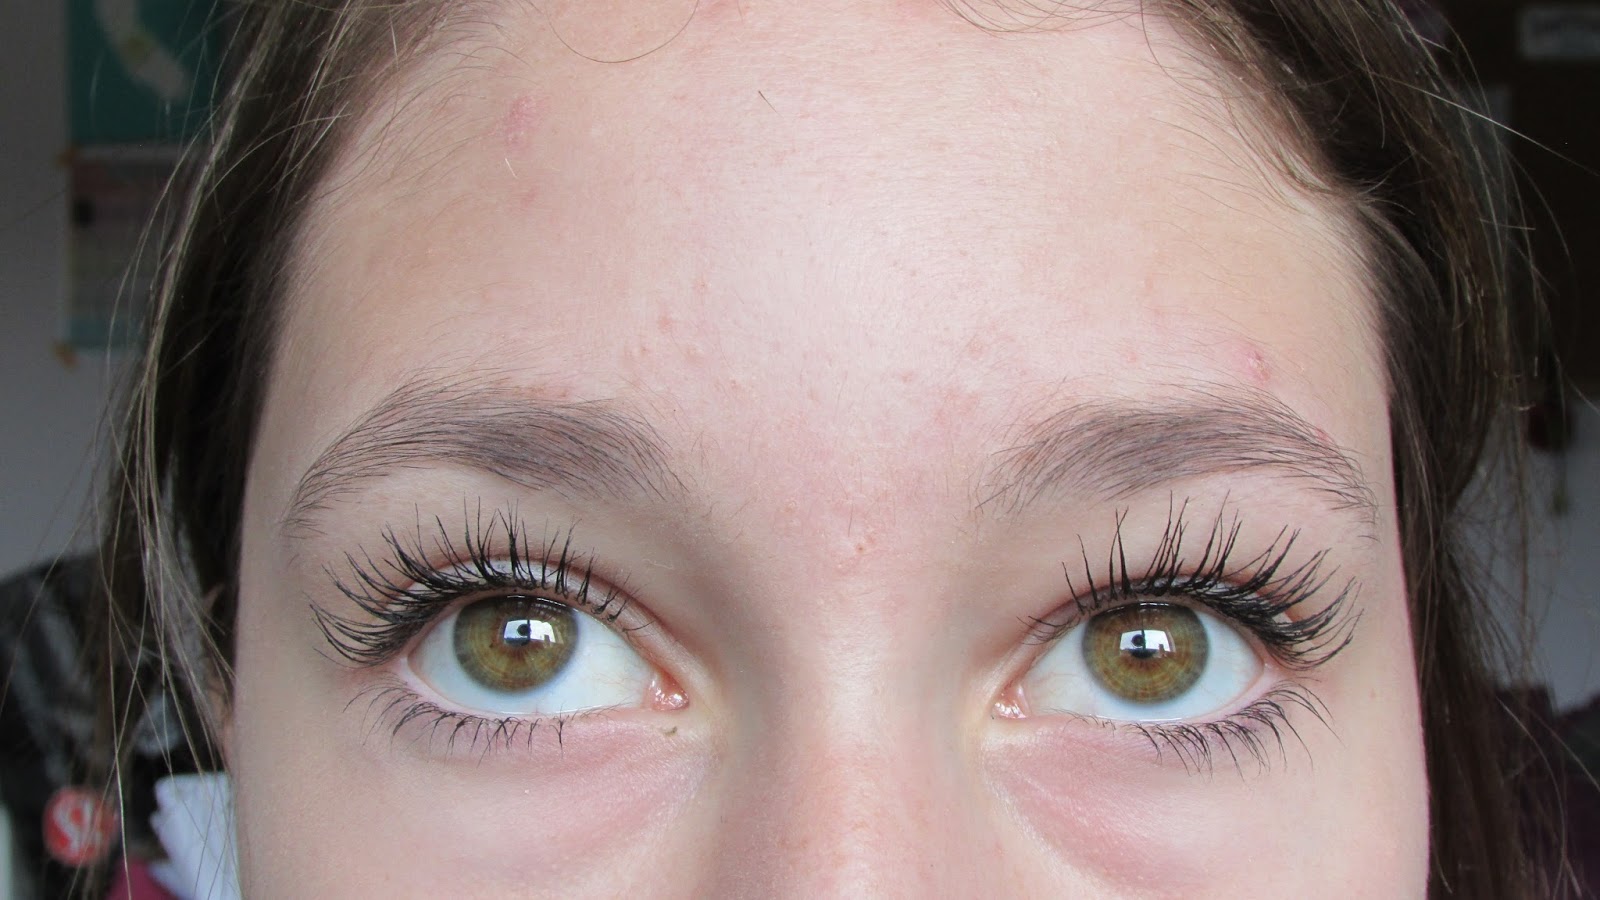
 Here is my before. I was jsut running a couple of errands this morning so all I did was a bit of foundation + concealer with powder, a tinted brow gel, and a light layer of mascara. Nothing special but just enough to look a bit more presentable.


 All of the powder shadows came straight from my holy grail, the NAKED 2 palette. I swear this is what I use in 95% of my makeup tutorials I love it so much!


 To prep, add a bit of color and to keep shadows lasting I applied a thin layer of a Benefit cream shadow in Birthday Suit.


 Next, I opted for a mixture of Bootycall and Verve over the lid and inner corner.


 To add some light smokey-ness, I concentrated Busted on the outer corner/V of my eye.


 I blended that out with a teensy bit of Tease.


 I always use 2 liners for my winged liner, it just works best for me! To draw the initial line, I use Maybelline's Master Precise.


 I add a small wing with Jordana's Fabuliner.


 After layering on and additional coat of mascara I am good to go!


 It's a very wearable night look, you could even deepen the crease a bit more!


I was really feeling a nude lip today so that's what I chose!

Hope you enjoyed and Happy July!

Tuesday, May 5, 2015

simplicity


I've recently been sticking to the basics when it comes to makeup. I think it's good to five yourself a little break from heavy makeup. Don't get me wrong, I really enjoy going all out with liner and the whole deal but I also really enjoy holding aback a bit. Here are my favorite products for a simple look!

Maybelline FIT Me concealer
skip the foundation and only cover what you really need to. If you'd like, skip the powder while you're at it to give a dewy, natural look.

Tarte Smooth Operator 
I liek to use this to set under my eyes. This makes my look more awake and it lasts all day.

NYC brow/eyeliner pencil in brown
To keep things looking super natural, double up your brow pencil as eyeliner. 

Urban Decay Eyeshadow in Tease
Use this in your crease for a bit of matte definition.

L'Oreal Voluminous Mascara
Use a light coat of mascara (preferably brown) for a more subtle look.

NARS Satin Lip Pencil
And finally, a neutral lip pencil will go a long way to perking up your look.

I hope you enjoyed, have an amazing day or night!

Sunday, April 5, 2015

Spring makeup tutorial


I feel like it's been ages since I did my last tutorial! I was looking back, and I realized my last tutorial was in only in February. Never the less, I thought I'd share another one! Since we are getting deeper into Spring, I wanted to share a themed tutorial. I love Spring makeup! It's so bright and fresh. For this look, I went for a light lilac mixed with a bright teal and I love how it turned out!
Enjoy :)


1st thing I do in most of my daily makeup looks is apply a light shimmery shade all over the lids. It works as a base for the rest of the shadows and brightens up the eyes.


For the lids, I used a very pale and slightly sheer lilac shadow. This adds a really subtle pop of color which is great for spring.


To add depth, I blended a few different soft brown shades into the crease.


Something I think adds a lo to the look, is adding a bright, shimmery white in the inner corner. it pulls all the shades together nicely.


For a brighter pop of color, I used a teal liner on the lower lash line. This also makes the look slightly more dramatic!


And that's the look. As you can see in the photo above, I actually added a bit of s copper cream shadow on the upper outer corner.

I hope you enjoyed this Spring tutorial and I'd love it if you tried it out! Comment any questions you have, I always read them :)

Thursday, February 12, 2015

Matte makeup


 I've always been one for super shimmery and glittery eyeshadow. I thought it drew a lot of attention to my eyes and just looked nice. Lately I've been experimenting with some matte shadows and I love them! After developing a love for matte shadows, I've begun to go matte for the whole face! I thought I'd share my favorite matte look so far!


 To keep my matte makeup lasting all day, I love using smashbox's foundation primer as well as their lid primer. These both keep my makeup looking fresh.


 For face, I've recently been loving the Flower Beauty BB Cream. it has quite good coverage and a fairly matte finish.


 The Amazonian Clay Finishing Powder by Tarte is a super smooth and matte powder. It's long lasting and makes your skin look flawless!


 Another trend I've been following is contouring. Just a light sweep of the Too Faced Chocolate Soleil bronzer and your face has so much more dimension. Also it's matte, so it looks more natural.


 Brows are a staple so I like to fill them in with the e.l.f. eyebrow kit in medium.


 I love big bold lashes so mixing the smashbox Full Exposure mascara with Tarte's lights, camera Lashes is perfect!


I like to go for a neutral pink on the lips. NYX's soft matte lip cream in Tokyo looks great on the lips.


My latest eyeshadow obsession is the palette from the Tarte Bon Voyage set. It has mostly matte sades to fuel my addiction. My favorite shades are 
1: Moulin Rouge
2: I think I Cannes
3: Eiffel for You
4: Chantilly Lace

I start by blending Moulin Rouge into the crease. I then deepen it up with I think I Cannes. In the outer corner, I blend in Eiffel for You and add Chantilly Lace to the center of my lids.


This look is perfect for any day! You can keep it simple for the day and add some winged liner for the night!


Tuesday, December 16, 2014

Blogmas 2014: Day 16 ~ Holiday makeup


With Christmas quickly approaching, there are many special occasion coming up as well. I put together a look that would be perfect for any holiday party or dinner. I went for a bit of a less dramatic eye look and less classic lip color. Feel free to switch anything out for your own preference.


I didn't get good photos of applying my eye makeup so here's the application of face makeup. This makeup look is a fairly natural eye look with a bold fuchsia lip.

The lighting is extremely difficult to work with during the Winter so I couldn't easily get a good photo of the makeup I used. I apologize for the quality of the above photo.

Anyways, here is the makeup I used for the look & links to reviews I have on the products.

Wednesday, October 22, 2014

Small open wound tutorial (Using household items!)


Today is definitely a step out of the box for me! I've never done a Halloween tutorial or anything even close to this before! I love playing around with makeup during the Halloween time and I thought I'd share a bit! I love finding things around the house to substitute for professional tools. I thought I'd keep it simple for today and just show a small wound tutorial. I'm not perfect in any way and could definitely use some improvement but it's all for fun in the end! I hope you enjoy and please let me know if you'd like me do do any other Halloween-themed posts!

Materials shown: Small cloth, plastic knife, Maybelline FIT me face powder, Covergirl 3 in 1 foundation, Wet n Wild stoplight red lipstick, elf black eyeliner, lip palette, various brushes, Lip smackers clear gloss, NYX blush in peach, glue stick, Mac fix+, Q-tips.

The materials you will need aren't exact. Feel free to swap out some things for others you feel will work better or for things you already have on hand! The main things you will need are a glue stick, red lipstick, black liner/eyeshadow, foundation, and a plastic knife or something similar.
I'd also like to apologize in advance for my chipped nails! *cringe*


I placed the "wound" on my hand as is was a flat and fairly easy surface to work on but you can place it wherever you please! I prepped my hand by cleaning it with rubbing alcohol so that the glue will stick better.


First, lay a glob of the glue stick onto the desired area. Smooth down with a spatula or plastic knife. If it's difficult to smooth, dip the knife in water first. After it's smooth (mine was a bit too round and raised) make a slit down the center with a toothpick. Don't make this too perfect since it is a cut.


To add some texture, place a little bit of cotton, either from a cotton ball or cotton swab, and smooth it down with the plastic knife.


To make it look a bit more like skin, cover the glue with a layer of foundation or concealer, Re-trace the cut and powder it all to set and mattify. Apply a matte blush around the edges to add an irritated look. Be sure to use only matte products throughout the whole wound so it looks as natural as possible.


The next steps have to do with personal preference. Tweak the look and "design" it to your preference. I colored the whole wound red then added depth to the cut with a black liquid liner. To make the liner less harsh, I went back in with red lipstick and played around with it. Darker red looks more realistic than bright red lipstick red!


This is the fun part (to me at least)! I added a taupe/brown shade around he edges to show a bit of bruising. Then I diluting red food coloring with a tiny bit of water and added that to the center and blended it around. I also added some clear lip gloss for a really gross, fresh look! I also smeared the food coloring (or you could use fake blood) around the cut to look as if it dripped and spread.

A few other things I did wear distress the wound  bit with a toothpick and spray it with MAC's Fix+ to make it last a bit longer.


I think I made the mistake of making the wound too raised from the skin and making the shape a bit too "perfect". I hope you can get some inspiration from this and possibly try this out for Halloween!
Bye! :)

Sunday, October 12, 2014

Simple Autumn makeup: warm tones


Hello there! I back doing another makeup tutorial for you! I've changed up my makeup a bit for the season and I've wandered toward more neutral colors and tones. I haven't been wearing a ton of makeup but it's still not quite "natural" makeup. I used a mix of drugstore & high end makeup but you can definitely just use what you have!


First I apply my Maybelline FIT me concealer to my under eye circles and any blemishes.
I then set it with the FIT me powder and bronze up my skin a bit with the Too Faced Milk Chocolate Soleil bronzer. 


Then I move onto my brows. First I comb them out with a mini mascara wand, just to shape them. Next I lightly fill in the "bald" spots with the NYC dark brown brow pencil. it's only $1 and it works great for me! I finish them off by setting them with the elf brow gel!


To keep my eyeshadow lasting, I apply the elf eye primer. Then I dust FOXY (matte cream) all over the lid, inner corner, and brow bone to lighten it all up. Then I blend TEASE (matte taupe/brown) into the crease to add some depth.


To add some shimmer, I added HALF BAKED (metallic gold) on the center of the lid. To finish the shadow, I added a tiny bit of SNAKE BITE (shimmery medium brown) under the lower lash line to add a tiny bit of drama. To keep the liner less dramatic, I used the elf brown gel liner and flicked out a mini wing! To finish it off, I use a couple coats of Lancome Hypnose Drama mascara.


For lips, my favorite nude lipstick is Wet n Wild's Bare it all. It's so pretty and lasts long too!


I hope you enjoyed this little Fall tutorial! Bye :)