Tuesday, March 31, 2015

March Favorites ~ 2015


I have been using the same products for a while now leaving me with only 5 favorites for the month. Hopefully April will be a more exciting month and I look forward to it! As I've already said, March has been really busy for me but it's been a nice change. I was trying to keep my makeup more simple and challenging myself to complete it in under 15 minutes. If I'm given the time, I can spend over half an hour on my makeup so I've tried to cut down. here are some of my favorites of the month!

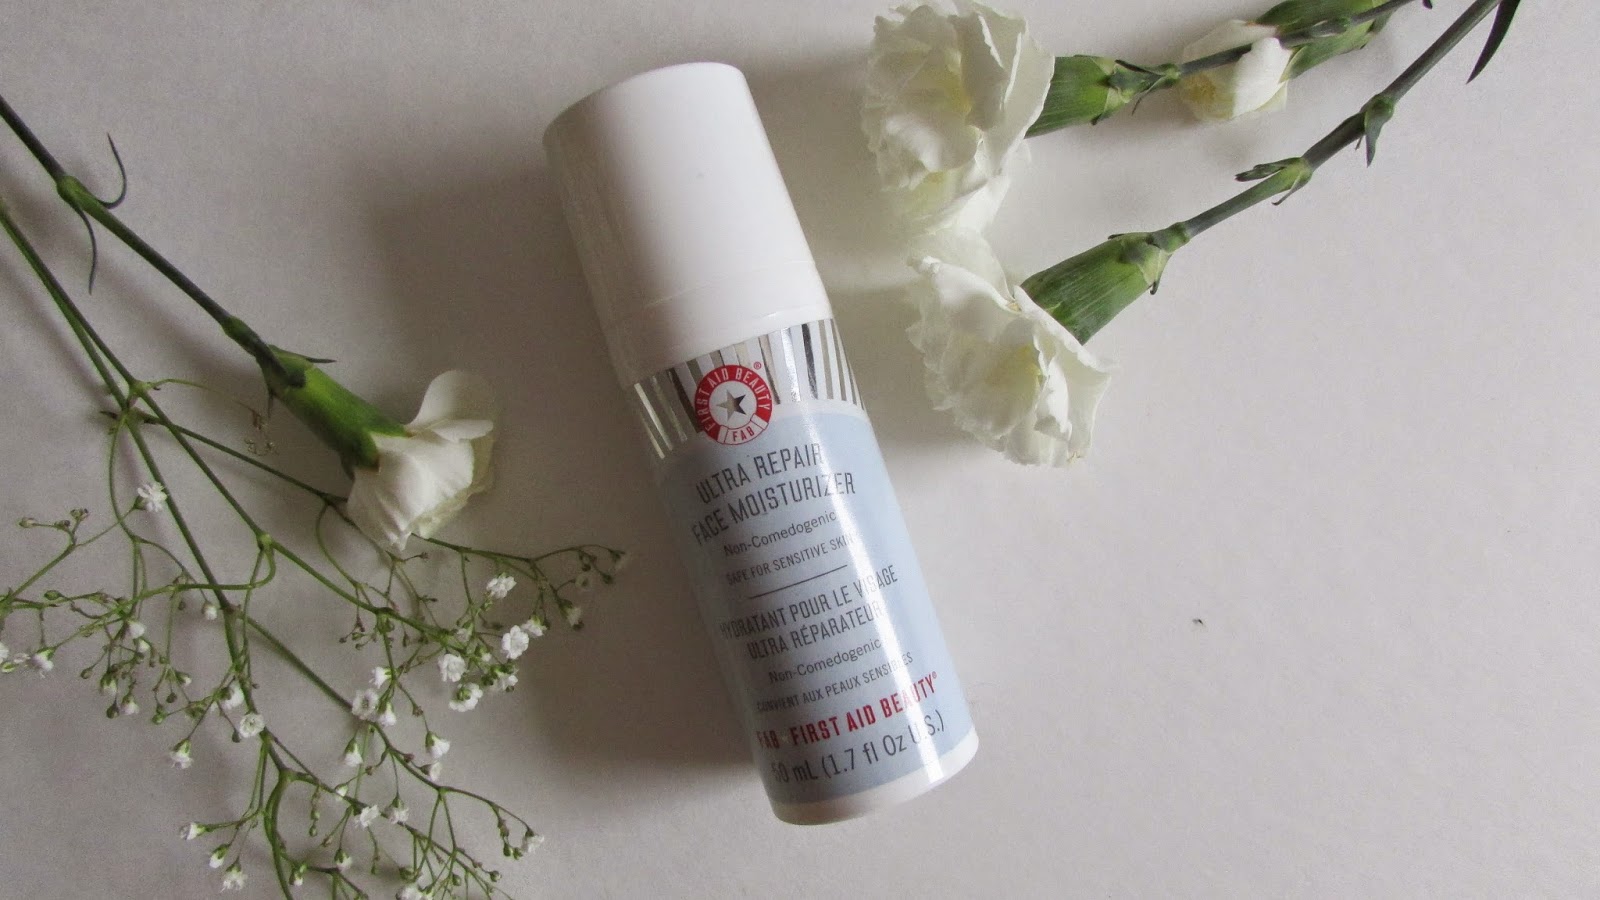
The First Aid Beauty Ultra Repair Face Moisturizer has been a life saver lately. It soaks into my skin so fast which gives me more time to move on with my makeup. It's also very lightweight and moisturizing.

The Tarte Smooth Operator powder was actually in my last favorite but I had to add it again! It just makes my skin so soft and matte & it lasts for ever!

The Flower BB Cream was also in last months favorites. I've just been using it a lot since it gives great coverage for a BB cream.

Essie's nail polish in Under Wear was definitely my favorite of the month. It was the perfect spring shade.

I needed a new mascara so I went back to the Great Lash Lots of Lashes and I loved it! It give sgreat length and volume.

Those are my few favorites of the month, I hope you enjoyed!

Monday, March 30, 2015

March empties ~ 2015

Time has been flying so fast lately for me. I feel as though if I blink, I may miss hours of my day. This has probably been due to all of the commotion in my life. I have been extremely busy lately and I've barely got time to process my own thoughts. I've been trying my best to get up some fair quality blog posts and I hope you've been enjoying them. Sorry for rambling so much, lets get on with it!

 The first thing I used up this month was another pack of the Kirkland wipes. This will be the last time I'll show them in my empties since I've said all I can say. I don't like them now that they have an added scent since it irritates my face and eyes!

I used up yet another Dove dry shampoo! This is my holy grail hair product.

I came to the end of the Neutrogena Extra Gentle Cleanser. It was okay but it felt a bit drying and I wouldn't repurchase.

I had been trying to use up some of my lotions so I finished the Delon+ Coconut body butter and The Body Shop mini vanilla one. I liked them both but I preferred the Delon+ one!

I had been at the end of my Maybelline FIT Me concealer and I finally finished it. I've already repurchased since I love it!

I ran out of the Nivea Nourishing Nigh cream and I already picked up another!

The L'Oreal nail stickers I used were a bit of a disaster. I did a Mani Monday on them if you want more info.

And lastly, I finished up another Crest Glide Floss, not really beauty but I thought I'd throw it in since I really like it!

 
Those are all of the products I finished up for this March. I was surprised at how full my empties bag as by the end!

I'd just like to say, it really helps to think about the present instead of wishing your days away. Focus on the good in everyday! Have an amazing last bit of March and I hope April is even better!

Saturday, March 28, 2015

Weekend Project #5 DIY Jewelry dish


I have had so much fun with my Weekend Projects in the past, I just had to do another one! This week's project is a DIY Jewelry Dish.It's really chic and customizable to match any bedroom. It's super simple to make so I would definitely recommend trying it out! It's not just for jewelry, you could store anything you'd like in it!
Enjoy :)


 Some supplies you will need are:

-A bowl or dish (I found mine at the grocery store)
-Rubbing alcohol (for best paint adhering) 
-Paint of your chosen colors
-Paint brushes
-Varnish (optional)
-Washi tape &/or anything else to decorate (optional)
 
 
 I had this bowl lying around for quite a while and it seemed so boring. I decided to jazz it up a bit with some paint! You can really use any dish you'd like. 
First, I quickly wiped down the bowl with rubbing alcohol, to make sure the paint would stick.
 
 
I then went in with a gold acrylic paint. Don't worry if it looks awful on the first coat. I think mine took about 4 or 5 coats to get to my desired opacity.


Once the outside had dried, I moved onto the inside. For the inner portion of the bowl, I chose a pale pink acrylic paint.  This one took about 2 to 3 coats.
Since this paint has a matte finish, I went over it with a varnish to give a glossy shine. This step is optional, but I think it really pulls the whole thing together.


And that's it! If you'd like, you can decorate it with anything else but I decided to keep it plain. This is a great organizing piece for any room.

That's all for this DIY, have an amazing weekend!

Thursday, March 26, 2015

Redken Pillow Proof Blow Dry Express Primer


 This week has been super hectic for me. I wasn't able to schedule my weekly posts last weekend like I usually do which just added to all of the commotion. I'm still trying my best to get up all of my planned posts so we'll see how it goes! Today I thought I'd review the Redken Pillow Proof Blow dry primer that I received for Christmas. I had tried this product before at the salon and I loved it. My hair is extremely thick and long so I nearly never go to the trouble of blow drying it. Blow drying my hair can take up to an hour without any product, so I tend to avoid it if possible.


 First off, the packaging is really cute. I love the pink theme, it's very girly. The product itself is amazing. I could never have imagined a product like this. When my hairdresser first used this on me, I was super surprised. She blow dried my hair in half the time it usually takes! I knew I needed this product knowing my hair.

All I do to use this is section my hair into 2 or 3 sections, shake the bottle and spray about five sprays onto the section I'm working on. I brush it through and start blow drying. The product doesn't smell the nicest but it works wonders! It completely cuts blow drying time in half!

This is a higher end hair product so it's a bit pricey at about $22 but I really do think it's worth it. If your hair already take very little time it's probably not worth it. But if your hair holds you back from blow drying your hair, I would definitely recommend this. I don't think enough people know about this product, it is so unique and amazing.


Make sure to shake it up before you use it since you can tell there are 2 obvious sections. 


RATINGS

 Use: 10/10
Price: 6/10
Scent: 6/10
Would I repurchase?: Yes! But I probably won't be running out too soon.
Would I recommend?: YES!
Overall: 9/10

That's about it, enjoy your day :)

Wednesday, March 25, 2015

Revlon Lip Gloss ~ Super Natural


A while back, I found a box of tampons with a free lip gloss in it! I thought it was a great deal, since it made buying tampons just a little more exciting. I recently found another box just like it and chose a different shade of gloss. I've already reviewed the first one here, so I thought I'd share my thoughts on this shade as well. I have found this deal at Walmart and other grocery stores, so I would definitely recommend hitting up the feminine hygiene section to try and score a free gloss! ;)

I definitely prefer this shade to the last. I found it a lot more wearable and I find myself reaching for it more often. I really enjoy the texture of these Revlon glosses. They are so smooth that they don't feel like a balm, but they are also hardly sticky (I can't stand sticky lip gloss).

The color payoff was perfect. It gave a nice sheer nude tint and a glossy sheen to my lips. It didn't look too over the top, in fact it looked effortlessly put together!

I really loved this gloss and it was perfect for everyday wear! I would definitely love to try some more shades.


RATINGS

Lasting power: 7/10
Color payoff: 8/10
Texture & wear: 9/10
Price: 9/10
Would I repurchase?: I'd be open to trying more shades.
Would I recommend?: Yeah, if you're looking for an affordable, non-sticky gloss.
Overall: 8.5/10

That's all for this review, I'll see you in my next post! 

Monday, March 23, 2015

Planner Decorating


After seeing planner decorating gradually becoming more and more popular, I thought I'd finally hop on the trend! I'd always tried using planners but they never really lasted more than a few weeks, maybe a month if I was lucky. I figured decorating my planner would make it more appealing and it definitely did. I now find myself checking my planner several times a day and it has really kept me on track. When I search up "planner decorating" on Pinterest, I'm overwhelmed with inspiration and I love it, so I thought I too would share how I decorate my planner.


I received this planner for Christmas and I've gotten lots of use out of it. It's super cute and compact. The only downside is the size of the days, but it's worth it to have a page of notes on the right.


 To start, I separate each day with washi tape. I've recently become obsessed with washi tape. You can find it places like Target, Walmart and Michael's. I try to switch up the colors each week. As you can tell, I took these photos a couple of weeks ago.


 Next, I go in with this paper tape from Kid Made Modern that I found at Target. It works perfectly for planning my blog posts.


I sometimes have to switch up my blog post schedule which is why I haven't posted a "stay positive" post yet.


On the right side of my planner, I like to start a to-do list for the week. This is what keeps me most organized and on top of everything. Every time I think of something, I add it to the list, and by the weekend I have all of my tasks on one list.


 I also like to use these little page tabs for any other important events or anything.


 I'll also add things I need to remember to get done sooner on these tabs.


That's basically it! After my planner is all decked out, I'll go in and write in any other important dates or ideas throughout the week. This has rally helped to keep me completely organized and I'd definitely recommend it. It's also really therapeutic to take some time to myself to plan the upcoming week.

Sunday, March 22, 2015

First Aid Beauty Ultra Repair Face Moisturizer ~ Review


 Happy Spring everyone! It sure doesn't feel much like Spring here, since it just snowed on Friday but I hope you are all having a brighter Spring. I realized that I haven't even reviewed my new favorite face moisturizer, so that's what today's post is!


I bought this Ultra Repair kit at Sephora on Boxing day last year and I am so glad that I did. This is actually still on the website, and I believe it's limited edition so grab it while you can! It was $53 with a value of $110. I had always wanted to try something from this brand so it was the perfect opportunity to save $57.

This face moisturizer is a lot thinner than most face creams I've tried. I think that's mainly why I enjoyed it so much. I only use it in the mornings and it wear great under my makeup. It blends Into my skin really easily and seconds later it has set. After it sets, my skin feels smooth and not sticky and it's really for makeup! This has made my skin feel really healthy and smooth. it doesn't dry it out or make it tight. it also hasn't broken me out which is great!
The moisturizer itself retails for $30 which is quite pricey, however I loved it so much I would definitely consider repurchasing.

RATINGS

Moisture: 10/10
Texture & wear: 10/10
Price: 7/10
Would I repurchase?: Quite possibly
Would I recommend?: YES!
Overall: 9/10

That's about it! Enjoy the week ahead! :)

Friday, March 20, 2015

Biore self heating mask ~ Review


When I found a package of Biore Pore Strips with a free pack of face masks, I jumped on the deal. I already reviewed the pore strips if you want to check that out here, so I thought I'd also review the masks. The package comes with 4 self heating one minute masks. These faces masks are very unique since you don't apply and leave them on.


 Each mask comes in its own package giving you just the perfect amount without waste.
You apply the mask and massage it in for 1 minute. After the time is up you rinse it all off.
I actually really enjoy this mask. It took some getting used to but it's a nice change. Once I start massaging it into my skin, I immediately notice a change in temperature. The mask becomes very warm and soothing. This would be great for a winter spa night.
My face felt very refreshed and clean after using this. My skin also felt super smooth and soft like it does after most face masks. I can't say how much these cost separately, but the 2 in 1 pack was around $8.
I like using these on nights where I don't have as much time to relax and sit with a fact mask on. When I'm looking for a quick deep clean, I'll go for this.

OVERALL:

Practicality: 9/10
Skin Benefits: 8/10
Would I repurchase?: Possibly
Would I recommend?: Yes, if you're looking for a quick/soothing face mask.
Overall: 8.5/10

That's about all I have to say about this face mask!
Have an amazing day :)

Wednesday, March 18, 2015

My morning routine (Weekdays)


A while back, I actually did a Morning/Night Routine but I thought I'd do another morning routine that's more in depth. My morning routine still isn't extravagant but I thought it's worth sharing. I usually wake up around 7 am, leaving me with about an hour to get ready. I really enjoy relaxing a bit in the morning so I like to take my time. I'm sure I could get ready in 30 minutes but I enjoy the extra time.


So starting around 6:55/7:00 am, I wake up and hop out of bed. During weekdays, I don't have time to play around on my phone.


First thing I do is put my makeup on. It wakes me up and makes me feel good. This is when I usually watch some youtube videos.
My current favorite products are: First Aid Beauty Ultra Repair Face moisturizer,  Smashbox Photo Finish Primer, Flower Beauty BB Cream, Maybelline FIT Me Concealer, Hard Candy Glamoflauge Concealer, Tarte Smooth Operator Powder, Rimmel Stay Matte Powder, E.l.f. Eyebrow Kit, E.l.f. Brow Gel, Maybelline Great Lash Lots of Lashes, Nivea Lip Butter Blueberry.


Then I either dig through my closet to find an outfit or toss on the outfit I set out the night before.


After that I usually fix up my hair a bit. If I had it in a braid overnight, I'll tease is a bit and fix up a few pieces. If not, I'll straighten it and tease it too.


After hair I'll head downstairs for some breakfast. I usually just have some oatmeal, but if I have a little extra time I like to make something like these healthy blueberry pancakes.


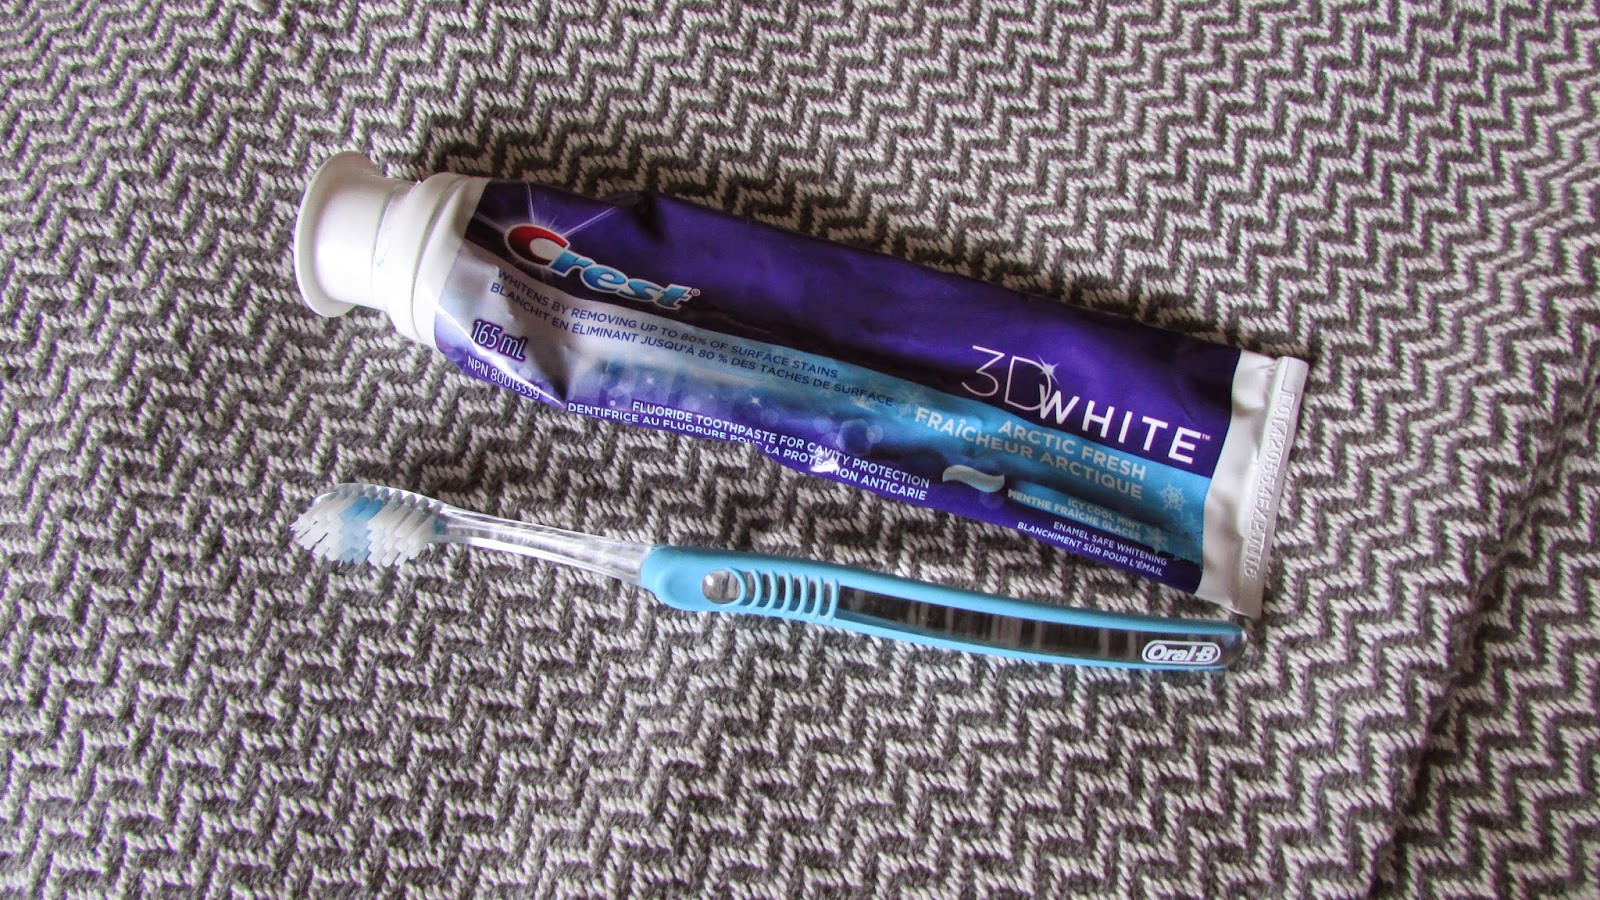
Of course, I've gotta brush my teeth!


Finally I'll spray some perfume. Lately (As in the past year and a half), I've been using Taylor Swift's Wonderstruck Enchanted or Victoria's Secret passion Struck.


And finally, if I have a little extra time, I like to surf Pinterest, Instagram and other social medias.
I then pack my purse, and head out!

Monday, March 16, 2015

Mani Monday: FAIL!


A while ago I found the L'Oreal Colour Riche Nail Lingerie stickers on sale at Walmart for only $3. I really enjoy the Sally Hansen nails tickers and decided to give them a go for the cheap price. I forgot about them for a while but recently found them again and decided to try them. Let me tell you, these were a HUGE fail! I got the "shade" Something About Her As I thought it would be a really pretty overlay to a solid polish.

I read the instructions carefully to ensure I didn't mess anything up. I used OPI's drip dry drops to dry my nail polish. After letting my nails dry a tiny bit more I tried to apply the sticker and it slid right off my nail. I figured it was because of the drying drops, so I wiped down my nails and tried again. It stuck a little better this time. As I carefully flattened the sticker, tiny wrinkles showed up all over the nail. I assumed this was because it was my first try, but no. All of the nails turned out like this no matter what I did. The isntrustions said to file off the excess hanging off the nail, but that didn't work at all. It would hardly budge and I had to use nail clippers to trim it. The edges were jagged and kept getting caught on everything.

My nails looked awful and kept getting caught on any fabric so after only a few hours I had to remove them. The peeled right off super easily making me assume they wouldn't have lasted long anyways.

Even thought these were only $3, they were a waste of money. I really dislike doing bad reviews like this but I thought I should share my feelings if you're thinking of buying these. I'm not sure if they were limited edition or not.


These would have looked beautiful if they had actually worked. Maybe it was the way I was applying them, who knows. I have heard many positive reviews about these too. 

Let me know if you've tried these before, and what you think of them!

Sunday, March 15, 2015

Revlon Lip Butter ~ Creme Brulee


I've actually had this lip product for quite some time now. I think I pretty much forgot about reviewing it, but here I am now! I had always wanted to try Revlon lip butters while they were trending but I never got a around to it. Fairly recently(ish), I had a $2 off coupon of Revlon lip products making this a score at $3! I had my eye on a few other shades but finally decided on the classic nude (Creme Brulee).


 Of course, I managed to clip off a nice chunk of the smooth top. This balm wasn't quite as moisturizing as I expected. Other tinted balms from different brands I've used have had the moisture of a regular lip balm. Don't get me wrong, this was more moisturizing than a lipstick but I feel like it could have been a bit more.

The color was nice. It wasn't too over the top but it also wasn't completely unnoticeable. This would be perfect for a natural, neutral look. There is also a hint of shimmer in it which draws a lot of light to your lips.

For lasting power, this wasn't the best. It lasted maybe an hour, that's even pushing it. I did really expect it to last vast amounts of time, but it would be nice to not have to apply every 30 minutes.


 OVERALL:

Color: 8/10
Lasting Power: 5/10
Moisture: 7/10
Price: 9/10
Would I repurchase?: Possibly
Would I recommend?: It depends
Overall: 7/10

I've had lip products I like better but I've also had some I didn't like quite as much.

Saturday, March 14, 2015

Subtle St. Patrick's


I thought it would be fun to do a super simple St. Patrick's day post. It's one of the lesser holidays that isn't super exciting so I thought I'd share a few ways to subtly add green to your look. These ideas are great for an effortless look. So if you're looking for a way to add a subtle hint of green to your look, keep on reading!

Green Accessories


These pale green, heart-shaped studs from Call it Spring are the perfect, simple accessory to a plain outfit.


This bright green bracelet by Lia Sophia is a bold yet subtle statement piece.


If you're looking to add only the super slightest touch of green to your outfit, go for a piece of jewelry with a tiny hint of green. Floral pieces, like this necklace from Target, often have small hints of green.

Green Makeup


Green makeup can seem super intimidating but it doesn't have to be! Try a metallic olive liner like this one by Annabelle. Smudging it above your lash line can draw attention to your eyes while also incorporating a bit of green.


You can also try the same shade in an eyeshadow. This olive shadow by Tarte looks great lightly blending into the crease or smudged on the lower lash line.

Tops


 This floral tank (from Winners) effortlessly incorporates green. Add a chunky cardi, some black pants and you're set!


 The subtle shade of green in this (American Eagle) baseball tee goes perfect for a casual look. Throw on some jeans, sneakers and head out.


 This cozy sweater from Urban Outfitters has thin stripes of mint green throughout it. It's perfect for a cooler climate.


 If you're looking to go super simple, try a black tank (Winners) with a green accessory or 2!

Bottoms


 These cropped leggings from Lululemon have subtle mint green stripes at the bottom. By wearing a bit of green in your pants, it draws even less atention.

Those are all of my ideas for an effortlessly green St. Patrick's day! Enjoy :)